
Have Questions?
Call 1(855) 236-5000
 >
>
Properly mounting and leveling your muzzleloader scope is an important step toward building an accurate and reliable hunting setup. If your scope isn't securely mounted or the reticle isn't properly leveled, you can run into accuracy issues and have difficulty maintaining a consistent zero.
In this guide, we'll walk you through the complete process of mounting a scope on a muzzleloader, from installing the scope rail and rings to leveling the optic and bore-sighting your rifle. For this setup, we're using a Traditions Pursuit XT Pro with a Muzzle-Loaders™ Genesis 3-9x40mm Scope.
The first step is installing the Weaver-style scope rail on your muzzleloader.
Many muzzleloaders come from the manufacturer with a scope rail already installed. Even if your rifle already has a rail, check the mounting screws to make sure everything is properly tightened to the recommended torque specifications.
You can also apply a small amount of blue Loctite to the mounting screws if desired, although it isn't required.
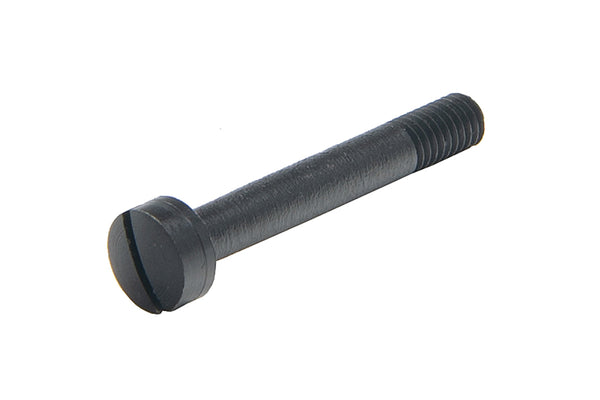
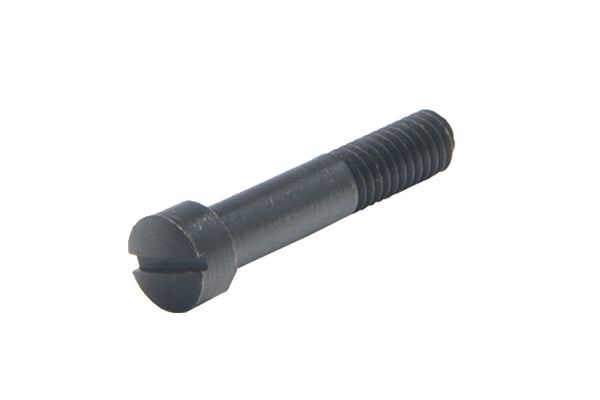
If you're installing the rail yourself, place the mounting screws through the rail so the threads extend slightly through the bottom. This makes it easier to align the screws with the mounting holes in the receiver.
Before tightening anything, make sure the rail is facing the correct direction. Depending on your muzzleloader and rail, it may only install properly in one orientation. On the Traditions Pursuit XT Pro used for this setup, installing the rail backward causes it to overhang the receiver and prevents it from seating correctly.
Once the rail is properly positioned, start each screw by hand. Don't fully tighten one screw before starting the others. Make sure all of the screws are properly threaded and that the rail is sitting straight before applying final torque.
For the rail used in this setup, the recommended torque is approximately 18 to 22 inch-pounds. A 20 inch-pound torque wrench provides a good midpoint within that range.
With the rail securely mounted, you can install your scope rings.
First, make sure your ring diameter matches the tube diameter of your scope. The Genesis Scope used for this installation has a 1-inch tube, so it requires 1-inch scope rings.
You'll also need to consider ring height.
Your rings need to provide enough clearance between the scope and the rifle. On some muzzleloaders, the hammer can be a limiting factor. The Traditions Pursuit XT Pro has a relatively tall hammer, so high rings are used in this setup to provide adequate clearance.
The goal is to mount the scope high enough to clear the rifle while still maintaining a comfortable and consistent shooting position.
Place the ring bases onto the Weaver rail and initially tighten the mounting nuts by hand. Once you're satisfied with their position, torque the rings to the rail according to the ring manufacturer's specifications.
Muzzleloaders can generate substantial recoil, so the rings need to have a solid connection to the rail. If the rings aren't properly secured, recoil can cause your scope to shift and potentially change your zero.
The Exodus Scope Rings used in this setup have a recommended torque range of approximately 50 to 65 inch-pounds at the rail. For this installation, the rings are torqued to 65 inch-pounds.
Once the ring bases are securely attached to the rail, remove the upper halves of the rings so you can install the scope.
The Exodus rings used here feature four screws across each upper ring. A secure ring design is particularly important on a muzzleloader because of the recoil generated when the rifle is fired.
Before placing the scope into the rings, establish a level reference point on the rifle.
The scope rail is an excellent place to start because it provides a machined, flat surface on top of an otherwise contoured barrel.
Place a level on the rail and adjust the rifle until the bubble reaches a consistent reference point. You don't necessarily need to perfectly center the bubble. Positioning the bubble so it just touches one of the reference lines can actually make it easier to repeat the exact position throughout the leveling process.
Next, remove the ramrod if necessary and attach a barrel level. Adjust the barrel level until it matches the reference established by the level on the rail.
Once the barrel and rail are level with one another, you have a consistent reference point that you can use to properly level your scope.
Place your scope into the lower halves of the rings.
A good starting point is to position the scope so the turret housing is approximately centered between the rings. Don't worry about getting the position perfect yet. You'll still need to adjust the scope for proper eye relief.
Reinstall the upper halves of the rings and lightly tighten the screws.
At this stage, you only want enough pressure to create some friction against the scope tube. The scope should still be able to slide forward and backward and rotate within the rings.
This slight amount of tension makes it easier to fine-tune the position without having the scope move every time you touch the rifle.
Before tightening the rings, make sure the scope is positioned correctly for your natural shooting position.
Shoulder the muzzleloader as you normally would when shooting and look through the scope. You should be able to obtain a clear, full sight picture without having to move your head unnaturally forward or backward.
If necessary, move the scope forward or backward in the rings until you achieve comfortable eye relief.
Take your time with this step. Once the rings are fully torqued, you don't want to discover that the scope needs to be moved.
Once your eye relief is set, it's time to level the scope.
Place a level on top of the scope's elevation turret and compare it with the barrel level you established earlier.
Slowly rotate the scope within the rings until the two levels match.
Once everything appears level, look through the scope and visually inspect the reticle. The vertical line of the reticle should appear straight in relation to the rifle.
On a muzzleloader like the Traditions Pursuit XT Pro, the hammer can provide an additional visual reference. When properly leveled, the vertical portion of the reticle should appear aligned with the centerline of the rifle and hammer.
Always double-check your work before tightening the rings. It's much easier to make a small adjustment now than after everything has been torqued.
Once the scope is positioned and level, you can begin tightening the upper ring screws.
This is one of the most important parts of the mounting process.
If you completely tighten one side of a ring before the other, the ring can grab the scope tube and rotate the optic out of level. Instead, tighten each screw gradually and evenly.
Keep an eye on the gaps between the upper and lower portions of the rings as you tighten them. You want those gaps to remain relatively even on both sides rather than having one side completely closed while the other remains open.
Continue tightening the screws incrementally while periodically checking your level.
Once the scope feels secure, check the level again before applying final torque.
For the upper ring screws used in this setup, the recommended torque range is approximately 18 to 22 inch-pounds. Using 20 inch-pounds provides a good midpoint.
Tighten the screws in an alternating or star pattern rather than completing one screw at a time. After reaching the proper torque, go back over each screw with your torque wrench.
Tightening one screw can sometimes slightly change the tension on another, so checking everything twice helps ensure all of the screws are evenly torqued.
Once you're finished, look through the scope one more time and confirm that the reticle hasn't moved.
At this point, your scope should be mounted, leveled, and properly torqued.
Before taking your muzzleloader to the range, bore sighting can help ensure your first shots land on paper.
A laser bore sighter is one of the easiest ways to establish an initial point of reference.
For this setup, a magnetic laser bore sighter is attached directly to the muzzle.
If your muzzleloader has a threaded barrel with a thread protector, make sure the thread protector is completely tight before attaching the bore sighter. If the thread protector moves, the laser can shift and give you an inaccurate reference point.
Position the magnetic bore sighter as close to the center of the bore as possible.
When possible, bore sight your muzzleloader at approximately 50 yards. Look through the scope and adjust the windage and elevation turrets until the reticle corresponds with the position of the laser.
At approximately 50 yards, positioning the laser slightly below the center of the crosshairs can provide a useful starting point.
Remember that bore sighting isn't the same as sighting in your muzzleloader. The purpose is simply to get you close enough that your first shots should land on paper. You'll still need to shoot the rifle and establish your final zero at the range.
If you don't have a laser bore sighter, you can still get your scope relatively close before firing your first shot.
Start by removing the breech plug from your muzzleloader. Secure the rifle on shooting bags or another stable support so it won't move while you're making adjustments.
Look directly through the bore from the breech end of the rifle and center the bore on a target at approximately 50 or 100 yards.
Once the bore is centered on the target, don't move the rifle.
Move your head up to the scope and see where the reticle is positioned in relation to the same target. Adjust the scope's windage and elevation until the reticle is centered on the same point you see through the bore.
Check through the bore again to make sure the rifle hasn't moved during your adjustments.
This method won't provide a finished zero, but it can be an effective way to get your muzzleloader on paper without a laser bore sighter.
Once your scope is mounted, leveled, torqued, and boresighted, take a few minutes to check the entire setup.
Make sure the rail is secure, the rings are properly torqued, and the scope hasn't shifted during installation. Shoulder the rifle and confirm that your eye relief is comfortable and that the reticle still appears level.
For the installation shown in our video, we use Wheeler Engineering tools, including a magnetic laser bore sighter, leveling tools, and torque wrenches. These are the same types of tools we use at Muzzle-Loaders.com when setting up scoped muzzleloader packages.
Most importantly, always follow the torque specifications provided by the manufacturers of your particular rail, rings, and scope. The specifications used in this guide apply to the equipment shown and may differ from those required for your setup.
Taking the time to properly mount your muzzleloader scope gives you a solid foundation before you ever fire your first shot. Once everything is securely installed and properly leveled, head to the range, fine-tune your zero, and get your muzzleloader ready for hunting season.

Leave a comment